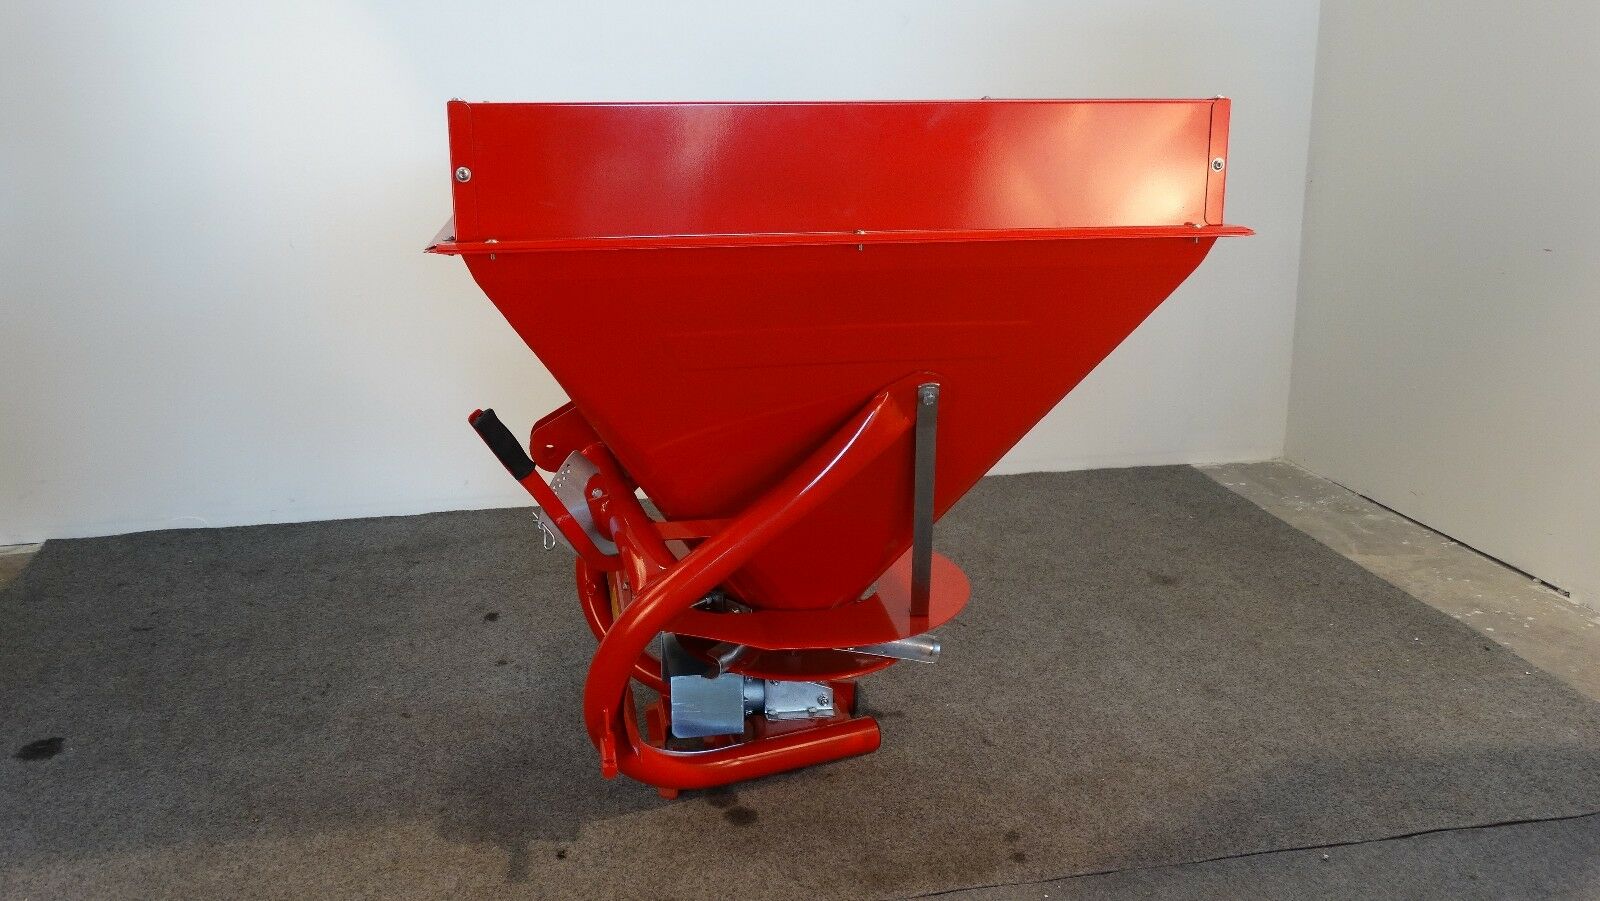
Fertiliser spreader jigsaw puzzle is todays project
I always try to save money where I can, particularly when it is working on jobs I know I can complete or have the time to take on. More recently, as we are still working through an ultra ever increasing project list on the farm, I have been careful with the extra work I say YES to take on in between my other jobs around the farm.

Last year was all manual labour
Fertilizing last year comprised on many 50kg bags, the land rover, an open rear door, punctured bags and a slow drive, it worked but did it evenly get the fertiliser to the plants, well, not really, still it got the fertiliser in the ground and I was happy.
All new shiny and red
For farm equipment, you have to shop around and see whats on offer, what the new additions or extras are to make the equipment work even faster, or more efficiently, so it was I spend some time deciding on the type of new fertiliser spreader to purchase. In the end I settled on buying a QN35 from agricolt, I had purchased from them before and was happy with their spares and customer support post purchase.
To build or not to build, that is the question
With an option of saving some cash, I decided on the build option, meaning the unit would come in pieces, needing to be put together by me, sounds easy right, I mean how many bits can there be in a fertiliser spreader! When the spreader arrived, I could see it was going to take a while….particularly as the manual did not have any assembly instructions, just a parts list. So it was back online to find some images, managed to find a rear, side and front image, that should get me going.
In the end, the build was straight forward, a few spanners, a hammer, a bigger hammer… and everything came together, check out the finished article in the last image, I am happy with it, and cant wait for the ground to dry out a bit so I can get into the vineyard and use it!

